Custom water cooling — routing liquid through your PC to pull heat off the processor and graphics card before pushing it through a metal radiator where fans blow it away — sounds like a weekend project that requires a plumbing license and a spreadsheet addiction. It doesn’t. The forum threads feel endless because enthusiasts love debating the 2 °C delta between a 30 mm and 36 mm thick radiator, but the decisions that actually determine whether your first loop is a success are maybe half a dozen. This guide cuts straight to those six decisions, names the real tradeoffs, and gives you a decision rule at every fork so you can stop reading forums and start ordering parts.
If you’ve already built a PC and understand why your CPU (Central Processing Unit — the main “brain” chip) runs hotter under a heavy game or video render, you’re ready for this. We’ll define the technical terms as they come up, so nothing should catch you off guard.
The Core Components and What Each One Actually Does
A custom loop is a closed circuit. Liquid (almost always distilled water mixed with a corrosion inhibitor) starts in a reservoir (a holding tank that also primes the pump), gets pushed by a pump through tubing into a water block (a metal plate with microscopic channels that sits directly on your CPU or GPU), absorbs heat, travels out to a radiator (a fin-and-tube heat exchanger — think of a car radiator), gets cooled by fans, and returns to the reservoir. That’s the whole loop.
Every build decision flows from one question: how much heat do you need to move? That number is your CPU’s (and optionally GPU’s) Thermal Design Power, or TDP — the sustained wattage the chip is rated to produce under load. An Intel Core i9-14900K or AMD Ryzen 9 9950X sits around 125–253 W TDP. A high-end GPU like an NVIDIA RTX 5090 adds another 575 W on top in a combined loop. Your component choices are essentially a function of that total wattage budget.
Radiators: Size, Thickness, and the FPI Tradeoff
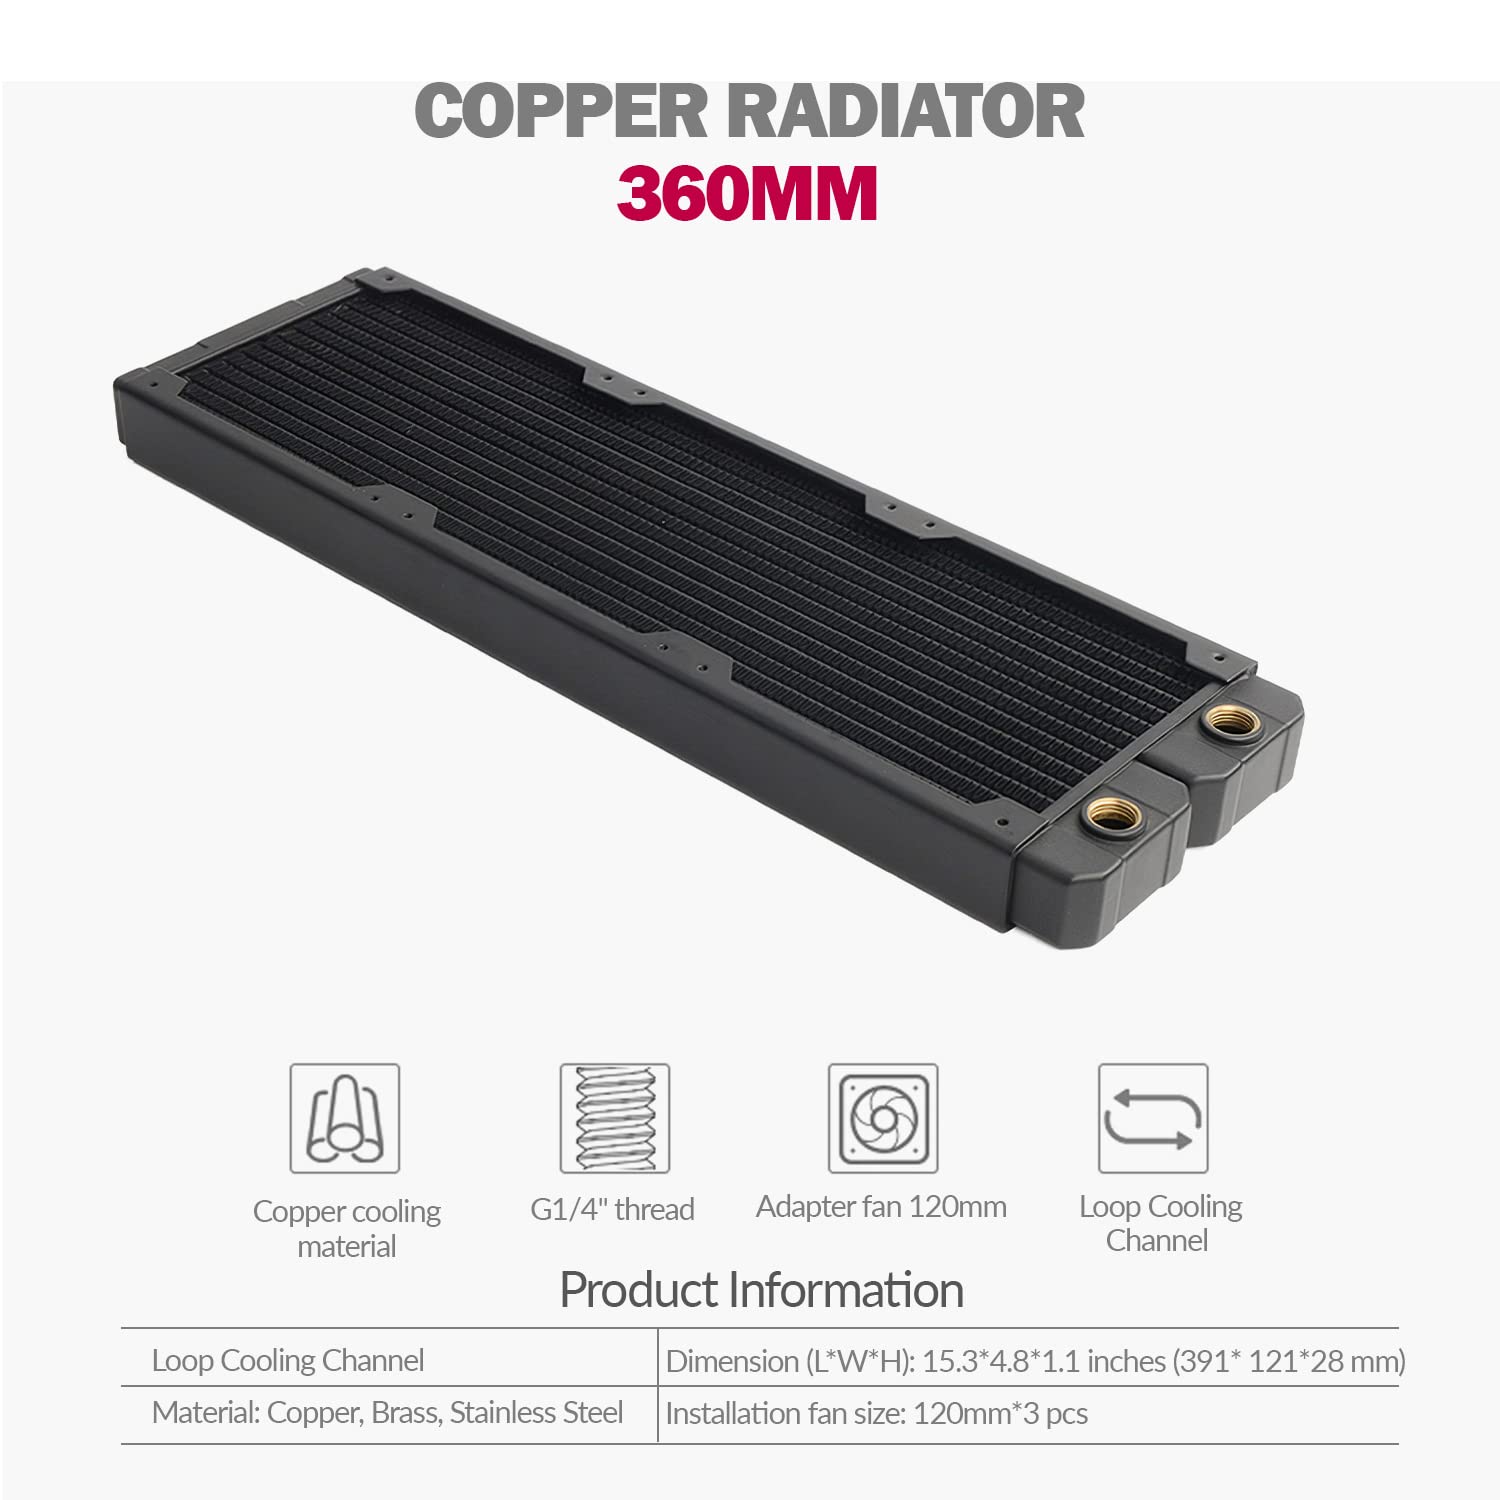
Radiator capacity is expressed in two dimensions: form factor (240 mm, 280 mm, 360 mm — these numbers refer to the total fan mounting length, not a single fan) and thickness (25 mm, 30 mm, 38 mm, 54 mm). Larger and thicker equals more surface area equals more heat rejection per unit of airflow — but with real diminishing returns and real compatibility costs.
The numbers at a glance
| Config | Rough sustained CPU-only TDP ceiling | Typical case requirement |
|---|---|---|
| Single 240 mm × 30 mm | ~150–180 W | Most mid-towers |
| Single 360 mm × 30 mm | ~200–250 W | Full-tower or large mid-tower |
| 360 mm + 240 mm (dual-rad) | 350 W+ CPU+GPU combined | Full-tower with good fan mount density |
Values are approximations derived from aggregated reviewer data at Tom’s Hardware and TechPowerUp radiator roundups. Actual performance varies by fan choice and ambient temperature.
FPI (Fins Per Inch) is the other variable. A high-FPI radiator (16–26 FPI) has tightly packed fins that extract more heat — but only with fast, powerful fans. A low-FPI design (8–12 FPI) performs well with slow, quiet fans and is the better pick if noise matters to you. Alphacool’s Nexxxos ST30 and EK’s CoolStream PE series both sit in the moderate 16–22 FPI range and show up consistently in Hardware Luxx’s radiator roundups as versatile middle-ground options.
Decision rule: If your build targets CPU-only cooling (no GPU in the loop) at up to 200 W TDP, a quality 360 mm × 30 mm radiator paired with three 120 mm fans is your lane. Add a 240 mm radiator if you’re including a GPU or pushing a Threadripper/HEDT platform. Don’t buy a 54 mm thick “extreme” radiator unless you’re pairing it with high-static-pressure fans you’re willing to run fast — at low fan speeds the dense fin stack actually hurts performance relative to a thinner rad.
Pumps: D5 vs. DDC and Why the Forum Argument Doesn’t Apply to You
Enthusiasts argue about the D5 and DDC pump platforms the way audiophiles argue about cables. Here’s the short version:
- D5 (Laing/Xylem-based, used by EK, Alphacool, Bitspower, and others): large impeller, high flow rate, lower max pressure, quieter across the review record. Igor’s Lab’s pump analysis from 2024 consistently shows the D5 operating below 35 dBA across its useful speed range. Best for most single-loop builds.
- DDC (also Laing-based, smaller form factor): smaller, higher pressure, noisier under load — better in compact cases where you can’t fit a D5, or in loop configurations with very long tubing runs and lots of restrictive fittings.
For a first build in a mid-tower or full-tower case, the D5 wins on noise-normalized performance. The EK Quantum Kinetic D5 120 (pump/reservoir combo unit) is a common recommendation across KitGuru’s build guides precisely because it removes one decision (reservoir sizing and pump bracket choice) and drops cleanly into standard 120 mm fan mount positions.
Decision rule: D5 combo unit unless your case physically can’t fit it. If you’re building in an ITX or compact mid-tower, DDC — accept slightly higher noise at load and set your fan speed curves accordingly.
Tubing, Fittings, and the Hardline vs. Softline Fork
This is where first-time builders either spend three hours in a forum rabbit hole or make a simple call and move on. Let’s make the simple call.
Softline tubing (flexible silicone or PETG in un-bent form) with compression fittings (the threaded collar that clamps the tube end to a port) is the beginner-friendly path. It’s forgiving — you can pull a tube, re-cut it, and re-seat it in under two minutes. Bitspower’s Matte Black compression fittings and Alphacool’s ES soft tubing are widely stocked and show up without compatibility issues across case clearance reports at KitGuru.
Hardline tubing (rigid PETG or acrylic that you heat and bend into custom angles) looks stunning in a tempered-glass build — clean right-angle runs, no sag, design-forward. It also requires a heat gun, a bending mandrel (a form you insert to prevent tube kinking during the bend), and a willingness to re-bend a segment three times to get the angle right. Not “hard” — but it’s a skill you build over a build or two, not something to learn on your first loop under deadline pressure.
Decision rule:
- First loop, performance focus → softline with compression fittings. EK Quantum Torque STC 16/10 fittings are a safe starting choice for 10/16 mm ID/OD tube.
- First loop, aesthetics focus and you have time → hardline PETG with a bending kit. Bitspower’s hardline compression fittings in chrome or matte black are popular with D-RGB ecosystem builders and are documented as compatible with standard G1/4” threaded ports used by virtually every waterblock and radiator on the market.
G1/4” threading is the industry standard port size. Every fitting, waterblock, drain plug, and fill port you’ll encounter from EK, Alphacool, Bitspower, and Corsair uses it. This is a non-decision — you never have to verify compatibility on thread size.
Coolant, Leak Testing, and the One Step Builders Skip
Coolant: Don’t use plain tap water (mineral deposits clog channels over time) and don’t use car antifreeze (the additives corrode aluminum and copper). The standard is distilled water plus a biocide/inhibitor. Premixed options like EK CryoFuel or Mayhems Pastel are formulated for PC loop metals and remove the guesswork on mixing ratios. Avoid dye-only additives without inhibitor — they look great until your pump impeller starts corroding.
Leak testing before powering on is the step that separates builders who have a story about water damage from builders who don’t. Fill the loop, plug in only the pump (power it via a PSU jumper or a dedicated pump power cable — not by booting the full system), and let it circulate for 30–60 minutes while you inspect every fitting. Paper towels laid under each fitting connection make detection obvious. KitGuru’s custom loop build guides specifically flag this step as the most-skipped by first-timers and the cause of most preventable GPU and motherboard failures.
Budget Reality and Where the Money Goes
A complete starter custom loop — 360 mm radiator, D5 pump/reservoir combo, CPU waterblock, fittings, tubing, and coolant — runs roughly $350–$500 when sourced from EK, Alphacool, or Bitspower at 2026 pricing. Here’s where the money actually lands:
- Waterblock: $60–$120 (CPU-only; GPU blocks add another $90–$160)
- Radiator (360 mm × 30 mm, quality brand): $70–$100
- Pump/reservoir combo (D5-based): $90–$140
- Fittings (budget 10–14 pieces): $50–$90
- Tubing, coolant, drain plugs: $30–$50
If you’re coming from a $150–$250 AIO (All-in-One liquid cooler — the sealed, no-maintenance units from Corsair or ASUS ROG), a custom loop is a meaningful step up in sustained thermal performance and a meaningful step up in build time and complexity. Tom’s Hardware’s cooler roundup coverage consistently shows well-configured custom loops outperforming comparable-radiator AIOs by 3–8 °C under sustained Prime95 loads, primarily because custom loops use higher-quality pumps and allow larger radiator configurations than most AIO designs.
The Decision Framework: If X, Then Y
Before you add anything to a cart, run yourself through this sequence:
-
What’s your total TDP budget? CPU only under 200 W → 360 mm single rad. CPU + GPU or 250 W+ CPU → plan for dual-rad from the start. Adding a second radiator later requires draining and re-filling the loop; build for your load now.
-
Does noise matter more than thermals at load? Yes → low-FPI radiator + D5 pump + slow fans (800–1,100 RPM). No → moderate-to-high FPI + match fan static pressure to density.
-
Softline or hardline? First loop or time-constrained → softline. Aesthetics-first with time to learn → hardline.
-
Is this CPU-only or combined loop? CPU-only loops are dramatically simpler to plan, build, and bleed (remove air bubbles from). Combined CPU+GPU loops double your port count and tubing runs — doable for a first build, but budget an extra hour for bleeding.
-
Have you confirmed case clearance? Measure your radiator mounts, check whether a 30 mm rad plus a fan (adding 25 mm) exceeds your top-mount clearance to the motherboard VRM heatsink. This is the single most common compatibility error in first builds, per case clearance reports across KitGuru and Hardware Luxx’s build coverage.
The forum rabbit hole exists because there are genuinely interesting debates at the margins — 30 mm vs. 38 mm thick radiators, copper vs. brass fittings for galvanic corrosion concerns, pump speed tuning. Those debates matter when you’re optimizing a second or third loop. For your first one, the five questions above get you 95% of the way to a quiet, reliable, measurably better cooling solution — and none of them require a PhD in fluid dynamics.
Start with a D5 combo, a 360 mm radiator from Alphacool or EK, softline tube, Bitspower or EK Quantum Torque fittings, and EK CryoFuel premix. Leak test for an hour before you power the system on. Everything else is tuning. You’ve got this.
Affiliate transparency: Some product links on this page are affiliate links. If you click through and buy, we may earn a small commission — it costs you nothing and doesn’t change our picks.